Using Swoogo Live

Looking to implement an easy onsite check-in process? Use Swoogo Live! The Swoogo Live app allows you to check in your registrants, not only to the event but also to individual sessions. Here’s the tea. 

App Information

Simply start by downloading the Swoogo Live app. Mobile device OS requirements include Apple: iOS 10 and higher, or Android: 5.1 and higher.

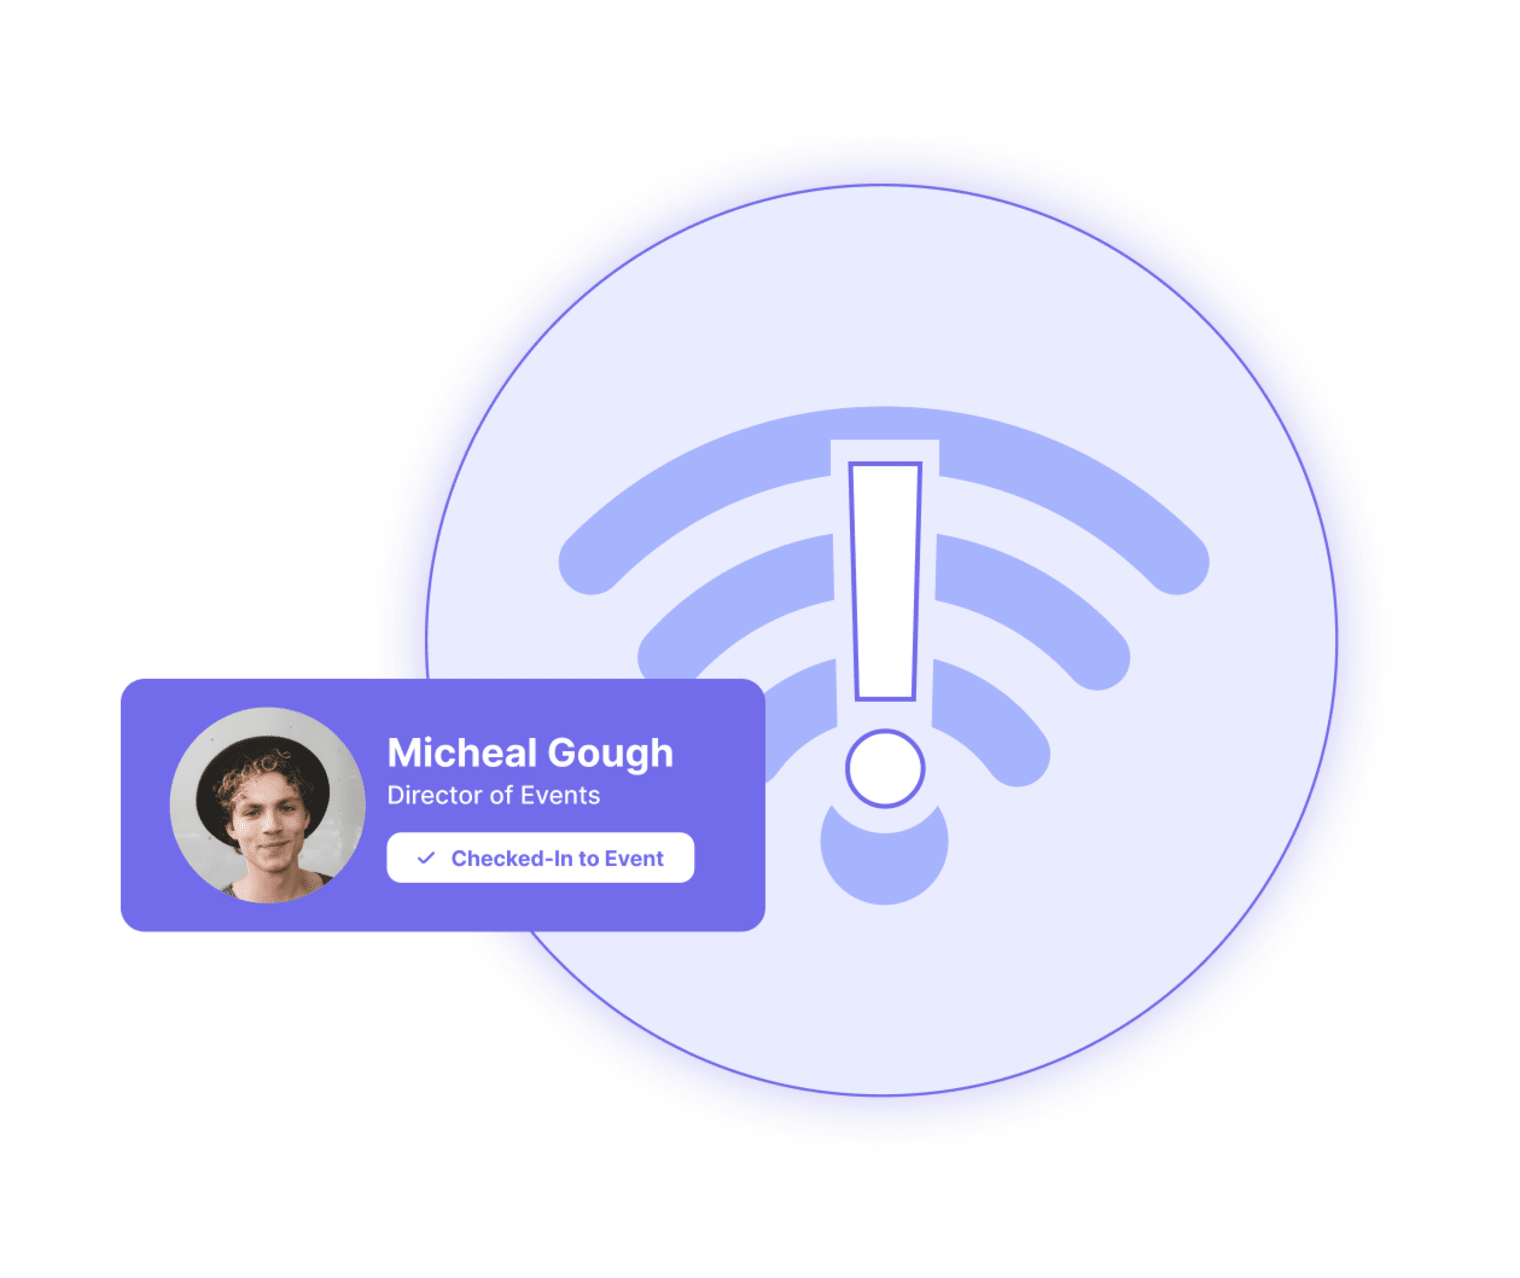
NOTE: This app requires Wifi. There is no offline option to check people in using this app.  

You must be using a 1D barcode (Code 39 or 128) or a QR Code set to Text with the Registrant ID field listed first (and any other fields after) to use Swoogo Live.

Once you download the app you can log in with your Swoogo credentials. Please note: you are able to use one Swoogo user login across multiple devices. Scans will come through under that user name only.

Simply select the event you would like to process check-ins for, and you will see the Check-In Dashboard, then start check-in to start checking people in!

Event Check-In (List)

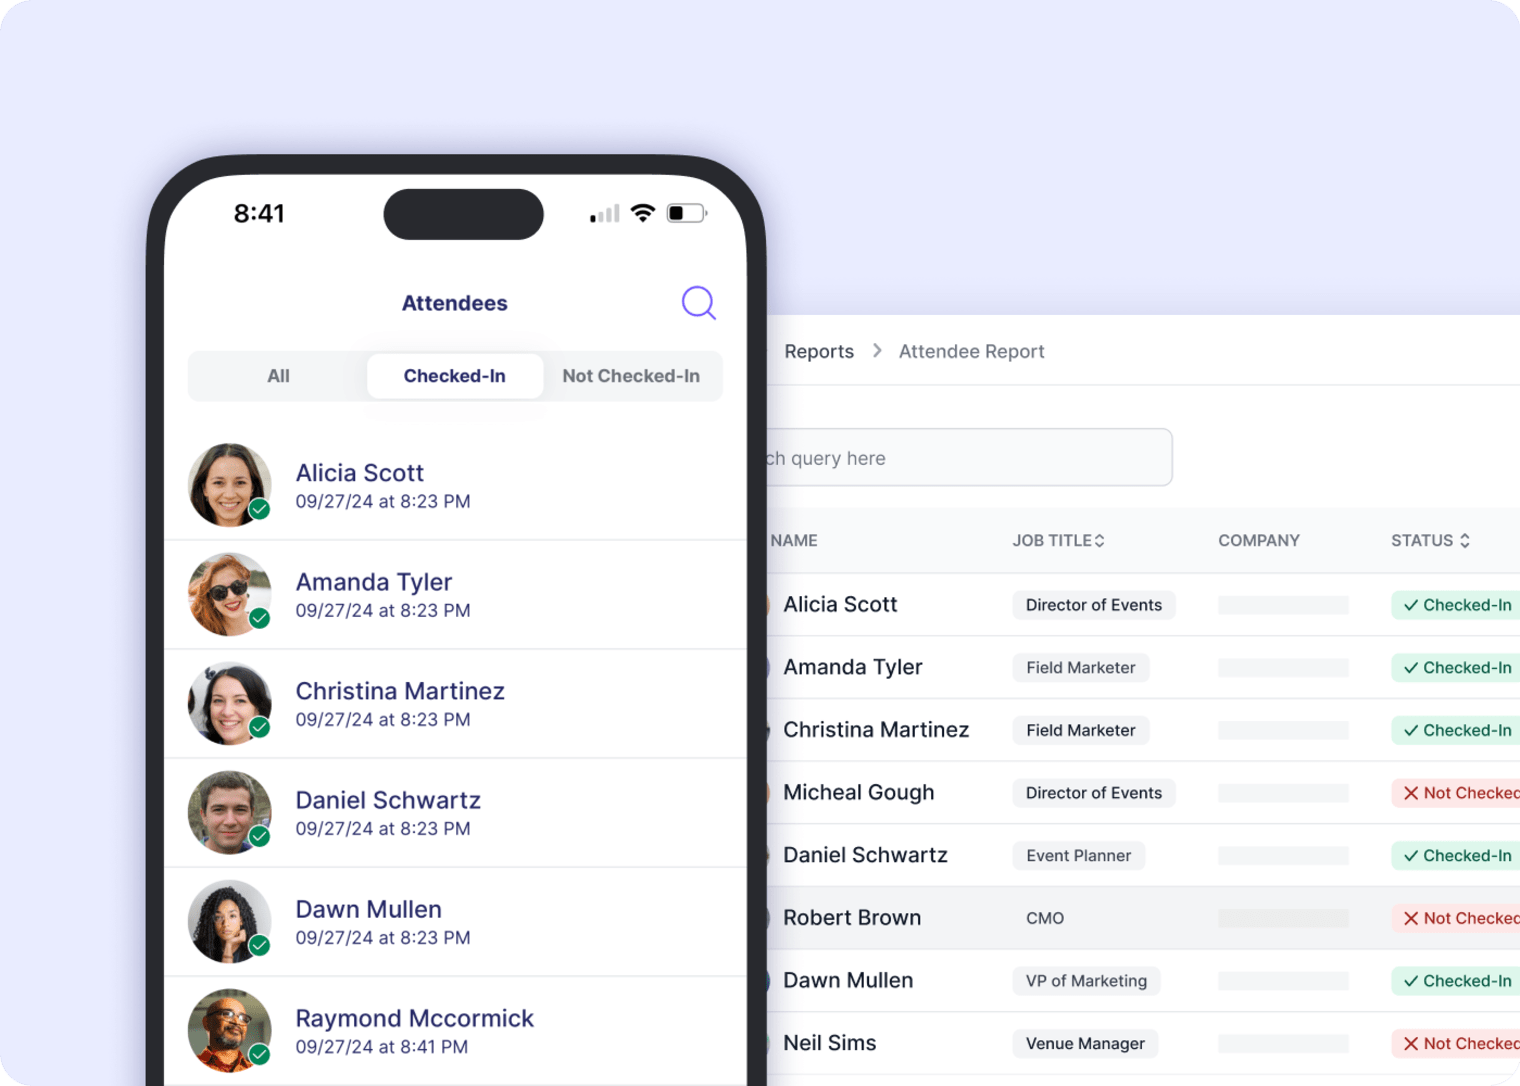
You can select a registrant from the list and easily mark them as checked-in, with the click of a button.

This will change their event status to Attended. You can also easily view checked-in registrants and even undo their check-in if needed.

Event Check-In (Scan)

You can use the scanning feature to scan the registrants’ barcode from an email, Confirmation Page, or if you are using Swoogo Mobile you can scan their Event Pass.

Use our in-platform scanner to scan registrants’ barcodes & automatically check them in.

Sessions, Packages, or Other Selection Check-In (List)

You can also check registrants in for individual sessions, packages, or any other custom option they may have selected during registration.

This will direct you to the list of sessions for check-in at your event. Simply select the session you are scanning in for and select the registrant from the list and mark them as attended for this session. You can also undo this selection if needed.

Sessions, Packages, or Other Selection Check-In (Scan)

You can also use the scanning feature to scan the registrants’ barcode from an email, Confirmation Page, or if you are using Swoogo Mobile you can scan their Event Pass and check them into a specific session or mark them as checked-in for any other session. 

Event Site Settings

You can configure your event site to show a pop-up on the app to show an error message for example, if the registrant checking on has a balance due, or if the registrant checking in to a specific session has not selected this session on their registration.

You can also set up scanning for packages or other fields on your form (ex. gift bags, t-shirts, lunches, etc.)

Check-In Stats and Reports

You can easily view the status of check-ins, on both the event level and the individual session level. Here you can see your check-in stats and can filter down to see each registrant that has been checked in.

You can also view the Scanning Report that will show you who was scanned, when they were scanned, who scanned them in, and what they were scanned in for, etc.